Here we provide you with some resources to guide you through!

Only premiere quality materials are used for your signs!

Click here to find installation guidance.

Check the frequently asked questions for your reference.
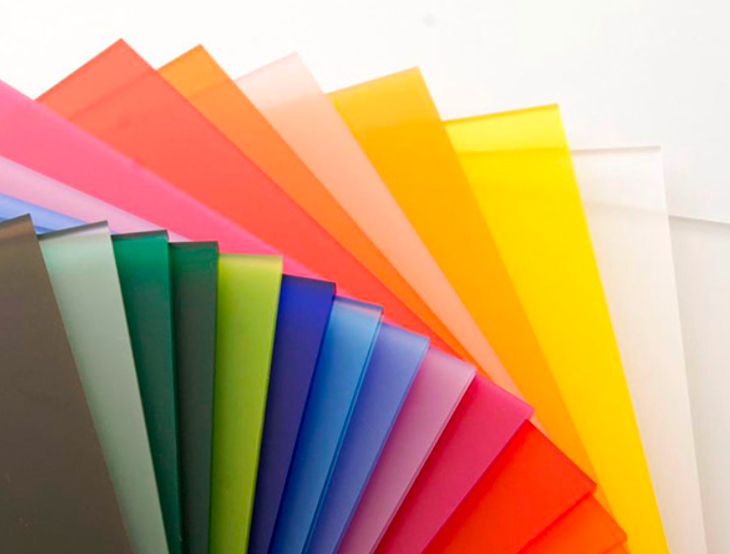
Acrylic sheet

Flex LED neon strips
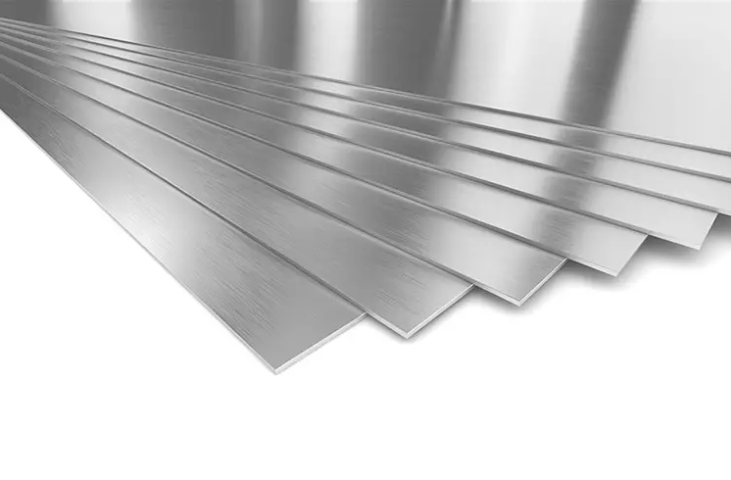
Stainless steel
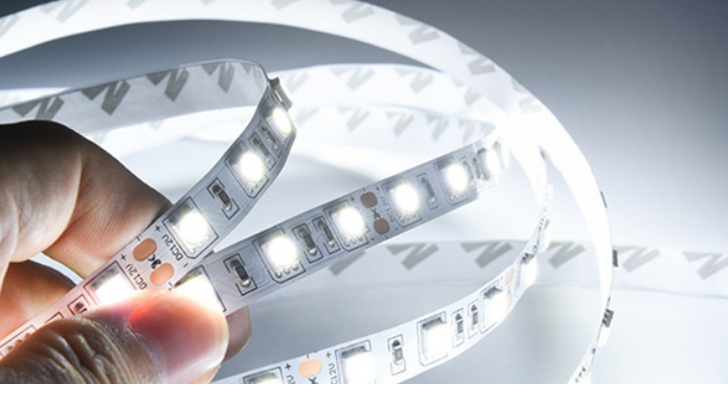
LED lighting source

Electrical cables
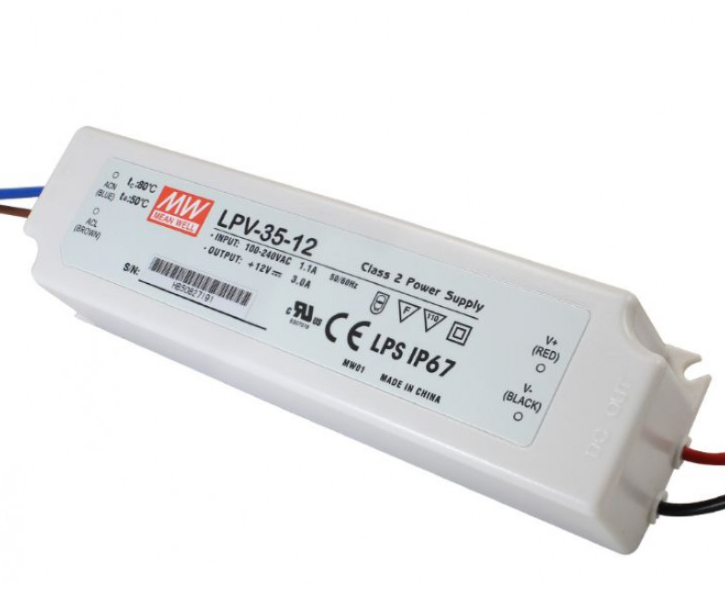
MeanWell waterproof AC transformer
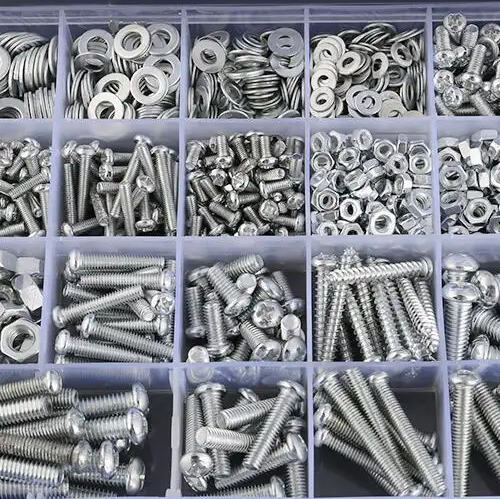
Studs series
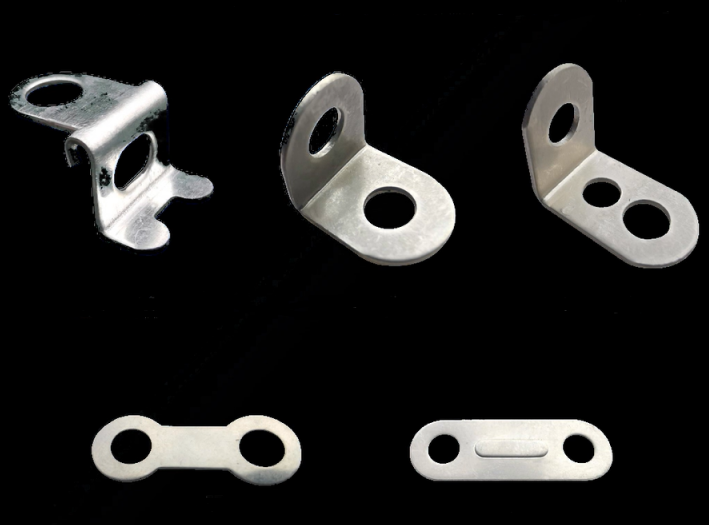
Mounting brackets

Wood Grain Transfer Printing
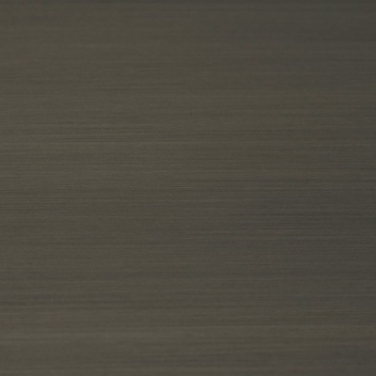
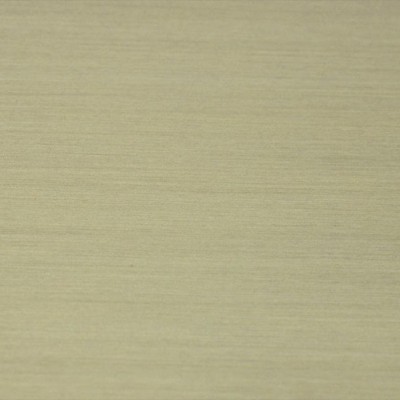
Titanium plated satin stainless steel
Titanium plated mirror polished stainless steel
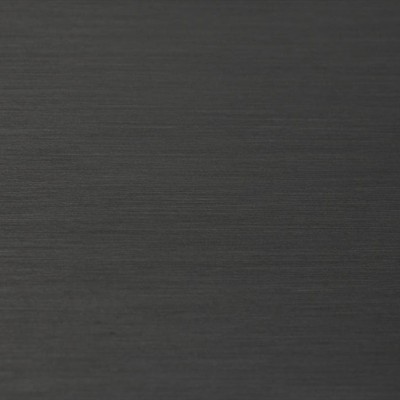
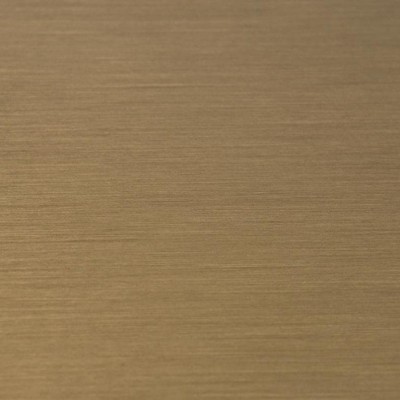
Titanium plated brushed stainless steel

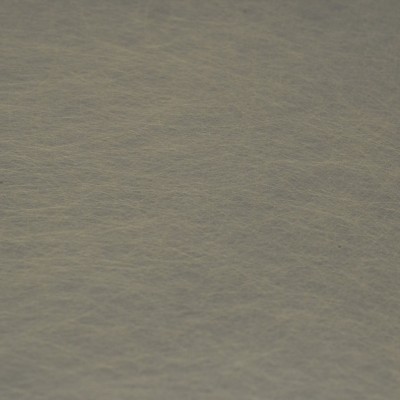
Powder coated-Painted
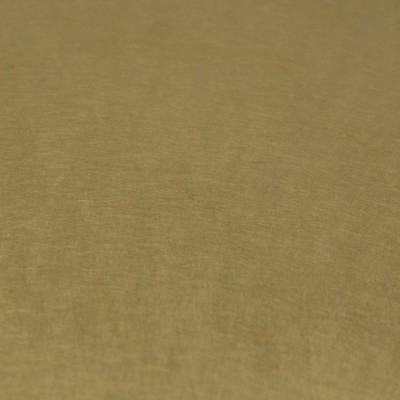
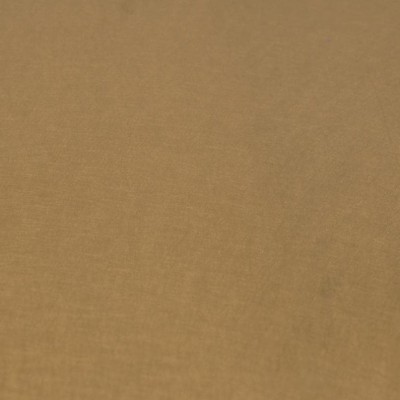
Gold plated satin stainless steel
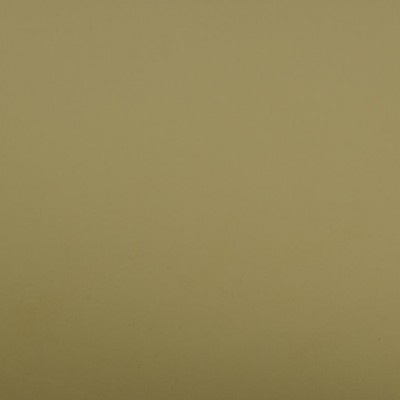
Gold plated mirror polished stainless steel
Gold plated brushed stainless steel
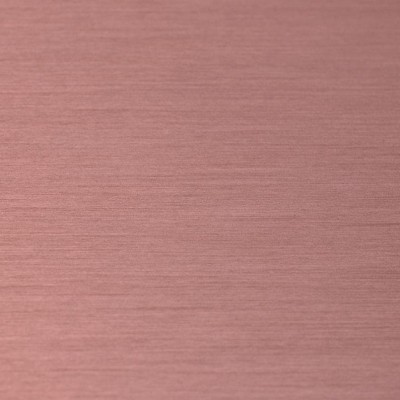
Copper plated brushed stainless steel

brushed stainless steel
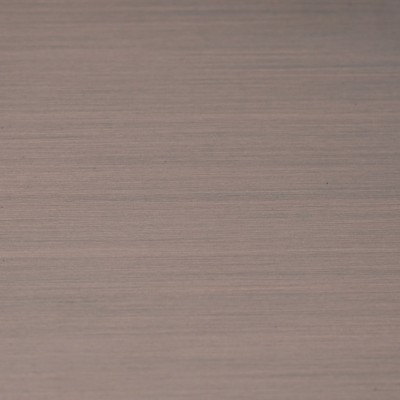
Bronze plated satin stainless steel
Antique bronze plated stainless steel
Antique copper plated stainless steel
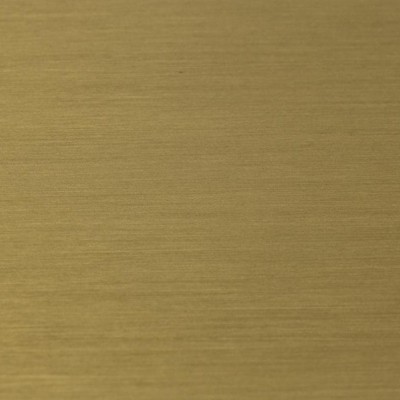
Brass plated brushed stainless steel
Brass plated satin stainless steel
Bronze plated brushed stainless steel
Simple & useful guidance for installers to go through the custom sign installation procedures.
Don't disassemble or modify the product.
Don't use any corrosive solvents directly or indirectly in contact with the product.
For indoor usage, it is forbidden to contact the product with water for long time.
If the product is not frequently used, please turn onthe
product regularly (every 2-3 weeks), and keep light on for 1-2 hours in order to
avoidthe product deterioration.
The wire for connection must have necessary certifications, such as CE/UL/CSA/CCC/SAA/ISO, etc. In compliance with your local electrical standards, laws and regulations. The electrician must hold an electrical qualification certificate to carry out the electrical work, strictly forbid non-professional personal operations. The power supply and switch should be placed in ventilated and dry location.
Please turn off the power supply before the installation. After all wire connection finished, please double check all wirings, make sure everything is ok and then turn on the power.
Hand drill and screwdriver
Adhensive glue
Electrical Cables
Screw accessories
Transformer
1. Using the adhesive templates provided, drill the holes indicated for the screws and wires.
2. Install the screws and spacers at the back of the signs, then put the cables and screws through the holes, and use the nuts to fix the signs in place.
3. Connect the cables to a driver, and light up your beautiful new LED sign!
Studs: threaded rods extending around 2'' beyond backs of letters or plaques.
Pads: plastic pad extending beyond the back of letters, typical with plastic letters.
Combination or Combination All: studs through pads.
Double Faced Tape: designed for interior flat letters - typically plastic letters.
Double Rail: mounted to two rails, metal or plastic letters or plaques.
The bottom or Top Rail: letters 3/8'' thick or up, plastic or metal.
The bottom or Top Stud: letters 3/8'' thick or up, drilled and tapped for studs.
Below are frequently asked questions, if you have any additional questions about the signs or our services, feel free to contact with us.


Copyright © 2022 Tyosigns
All Rights Reserved.